
I keep seeing these super cute golden sea urchins all over the place and I LOVE them. I'm sure you've seen them too. Well, I ran into them while shopping at Target last week and I quickly threw two packages of them in my cart when I thought...What am I doing? They're golden sticks for $15 a pack and they're not even very big (Also, I thought about what my other half would say when I came home with these after he just finished telling me we need to watch our spending. Haha!).Well, I snapped a picture, put them back, and put the gears to work in my head. I spent a few bucks on skewers and gold paint,, and made a trip to the dollar store, because I KNEW I had seen styrofoam balls there before and I KNEW they were much much more at Michaels.

Well I got home and googled "Gold Sea Urchin" and what the heck? I saw some selling for up to $180!! So now, I'm a little more excited for this project. The pricier the knock off that I can pull off, the happier it makes me! Well,, I also saw that there are several tutorials out there to replicate the urchins, but they were all missing something. THE DARK CENTER! Well...I didn't buy any black paint. I did have some black watercolors, so I decided to just use what I had at home. I apologize for the photo quality of some of these. I was working on this late at night after the baby went to bed...and after a few glasses of wine.
Materials:
- Pkg of skewers
- Small styrofoam balls (or half spheres)
- Gold and black paint
- Sponge brushes
- Glue gun and glue sticks


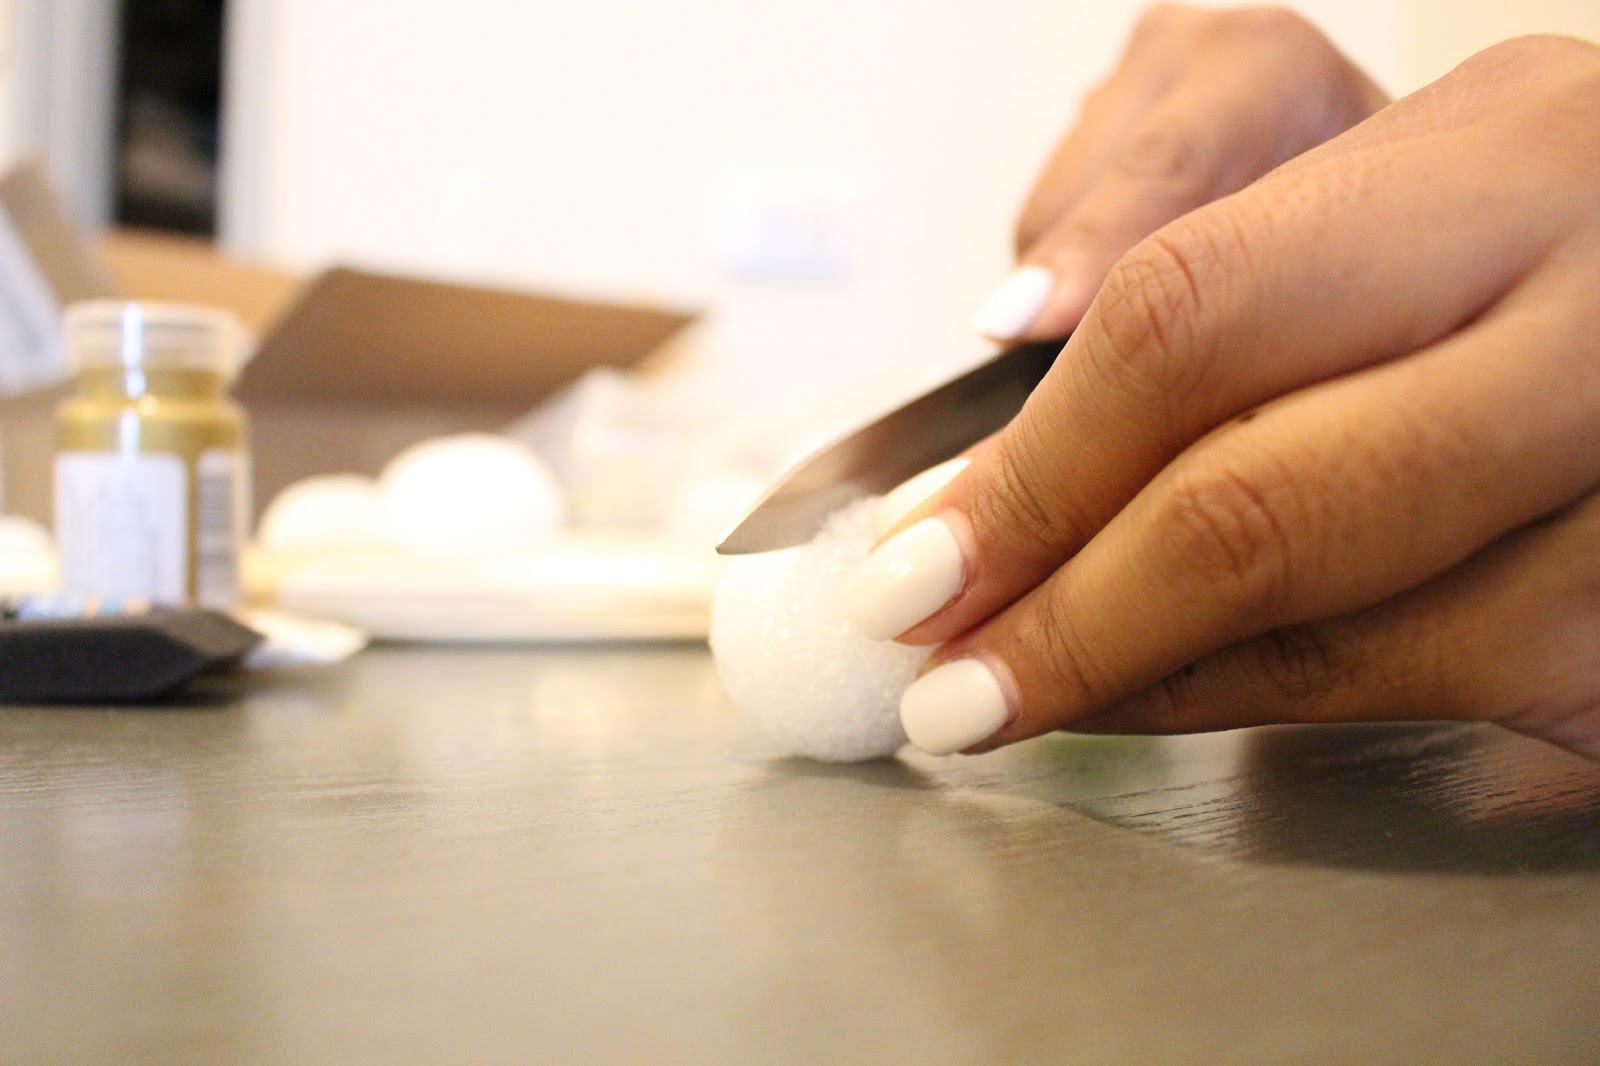
This is the perfect size sphere. If you get the half spheres, you're ready for the next step. If not, cut your sphere in half.

Next, paint your half sphere black. It doesn't have to be perfect, you'll barely see it when your're done but you don't want to see a bright white center. You want it to just dissapear.
-Woopsie, I forgot to take a photo of this step, so I took it from my snapchat (@jaaaamazing).


You're going to want to paint the pointy skewer black about 1/3 of the way and let dry.


After they are all painted black and dry, begin painting the other side gold. You're going to want to overlap the gold paint onto the black a little bit to create a fade effect.


Once the first coat was done and dry, I felt like mine weren't gold enough and I took all the skewers off my drying styrofoam and gave them one more coat. (Whenever we order something that comes with a good piece of styrofoam I stash it away for occasions like this! Errol thinks I'm crazy but HA!! It worked for this project IN.YOUR.FACE! LOL)

Now you want to have your black half sphere and skewers ready.

I laid my glue gun on its side and just allowed the glue to melt onto a paper towel where I could just dip the tip of the skewer into and then insert it into the half sphere.


This is the part of the tutorial where you want to be very careful to equally space the skewers or else it's not going to look like the original ones. Place them very close together but with an even sunburst v shape beginning at the bottom of the sphere.
I did see a few tutorials where they used toothpicks or chop sticks and I just didn't like the effect as much as I liked the skewers. They're much more close to the real ones.


On the next row up, make sure to place the skewer between the gap of the lower skewer to give it that random (but not random) sunburst effect.

Continue to alternate the order of the skewers as you move on to the next row. Once you're done, you can go back and fill in any gaps but make sure you don't overdo it or you'll crack your sphere...like I did.

If this happens, just flood it with hot glue and cut out a paper circle that's the same size. I just happened to have this laying around. (I think it's the packaging to some macarons I bought. Haha! I keep a lot of junk for "just in case")


THAT'S IT! You're done and you have a beautiful gold sea urchin decoration! You can hot glue a little loop to the back of it and hang it on your wall or just use it as surface decor. I think I'm going to put it up on my wall but we move A LOT, so I'm just going to attach some 3M strips to the back of it. That's how I attach EVERYTHING to my walls. I like to switch up my decor so much anyways and those work perfectly for people who change their minds as much as I do.
If I missed anything or if you have any questions, I'd be happy to answer. I'd love to see how yours turn out!
 |
| My Version $4!! |
 |
| zincdoor.com $147-197.50 |
 |
| Target $14.99 |
Clever!
ReplyDelete