

I'm kind of at that pregnancy stage where my bump is showing but no one will ask me because I might just be a little pudgy in the middle. I'm five and a half months pregnant and just got back into the gym after breaking my toe. I take spin classes about 5-6 times a week and I felt a little funny going up to the instructors to let them know I'm pregnant (they tell you to do this on all these pregnancy websites), so I've been looking for some t-shirts with cute pregnancy designs aaaand...no. I'm not going to pay that much money for a t-shirt I'm gonna go get sweaty in. I don't even think I've paid that much more than a handful of times for a nice blouse, so no. That's bananas!
I was lucky enough to run across some CLEARANCE wohooo! Who doesn't love clearance? I found non maternity 1X sized t-shirts at Target for $3 a pop. I figure they're roomy enough to be comfy and long enough to cover the bump when it gets bigger. $3 a t-shirt? That's the kind of money I'll spend on a shirt I'm gonna get all sweaty in at the gym. I already had craft paint at home, so alls I needed was some fabric medium to mix it with.
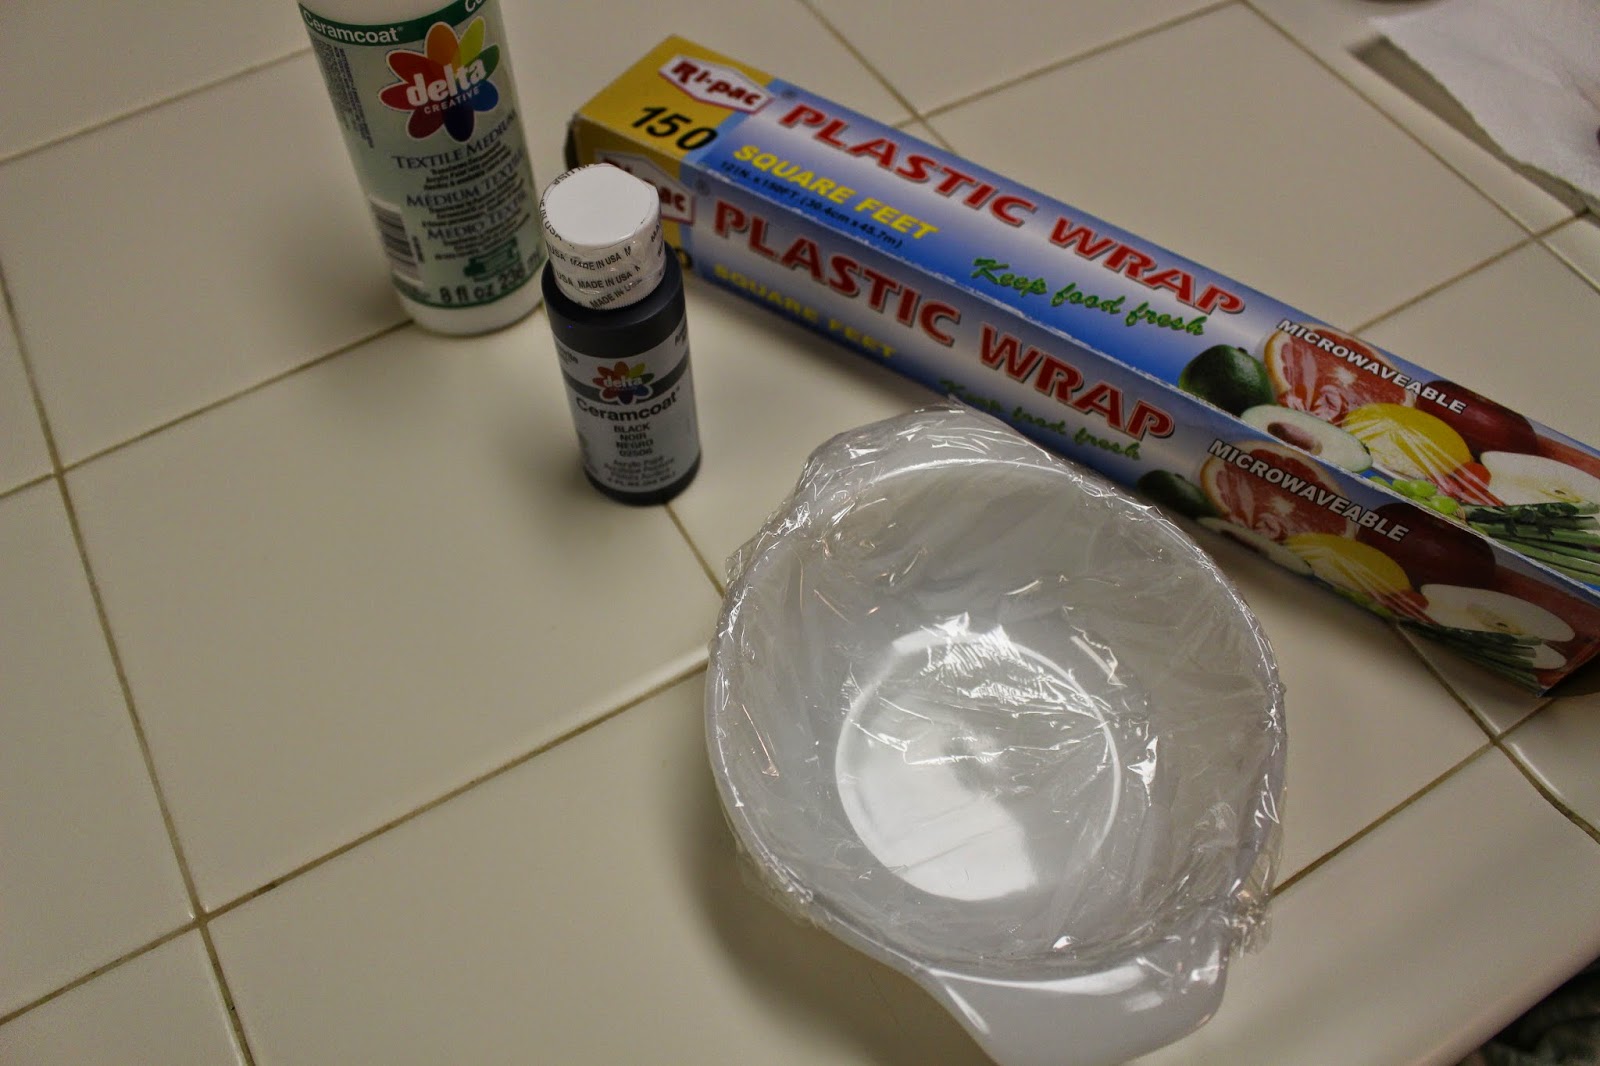
Also, little tip... I get really lazy when it comes to clean up. So, if i'm using a non disposable bowl for painting, I like to cover it in plastic wrap and when I leave the paint in the bowl for a week cause I forgot about it I just remove the plastic wrap and toss it!
Also, little tip... I get really lazy when it comes to clean up. So, if i'm using a non disposable bowl for painting, I like to cover it in plastic wrap and when I leave the paint in the bowl for a week cause I forgot about it I just remove the plastic wrap and toss it!

So I mixed my paint and textile medium and then I got my Silhouette out, chose my font and typed my word in. I like to use contact paper to do any kind of stencil. This is only because I have TONS of contact paper, however I have heard that freezer paper works very well for stencils as well.


Once I had my stencil cut out I placed a plain brown paper bag in the t-shirt to keep any paint from bleeding through.

I added my contact paper stencil. I didn't do a very good job of it, but it was late and I was tired and hey, I'm gonna be using this shirt at the gym anyways, right?


After the first layer of paint, I let it dry for about 30 minutes then added a second coat and allowed that to dry overnight.


